So a friend of mine on Facebook [Ayu-chan <3] asked me how I did my makeup in one of my pictures. I kind of misplaced my red eyeshadow so I did this tutorial using a green from Too-Faced Smokey Eye Collection. Hopefully this makes sense and you like this! It's super easy and looks good on everyone <3 {please excuse my 'blah' look....today is one of my lazy days}
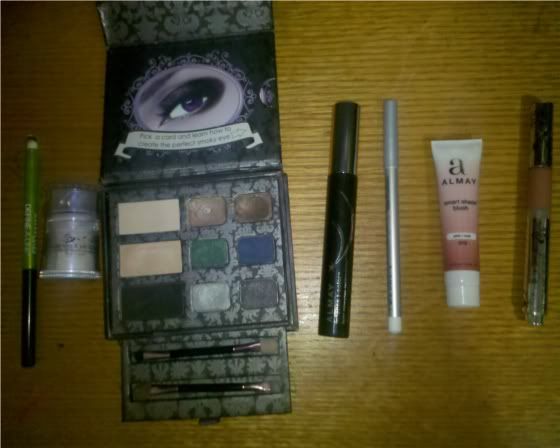
First, here is a picture of all the products I used in this tutorial, in the order they are used.
From left to right we have: Maybelline New York Define-A-Line soft black eyeliner, NYC Sparkle Eye Dust, Too Faced Smoky Eyes, Almay Intense i-Color Mascara for hazel eyes, Prestige white eye liner, Almay Pink/Rose Smart Shade Blush, Hard Candy Button Your Lips lipgloss. Whew! Sometimes I use Kat Von D's Eye Primer, but I opted out this time due to being lazy xD
First this is first....eyeliner! Pretttty basic
After I have my eyeliner on how I like it (sometimes I bring it out, sometimes I don't), I move on to the Sparkle Dust. This goes on the inside part of my eye and I bring it to about halfway ish across. I tend to kind of make an angle when doing this.
After I have the inside colour, I turn to the outside colour. For this tutorial I chose to use the sparkly green from the Too Faced Smoky Eye Palette. This is a nice palette to have by the way, it has three really great tutorials for smoky eyes. =) So when I do the green (or whatever the outside colour is), I tend to bring it off my eyelid and towards that bone that's right there.
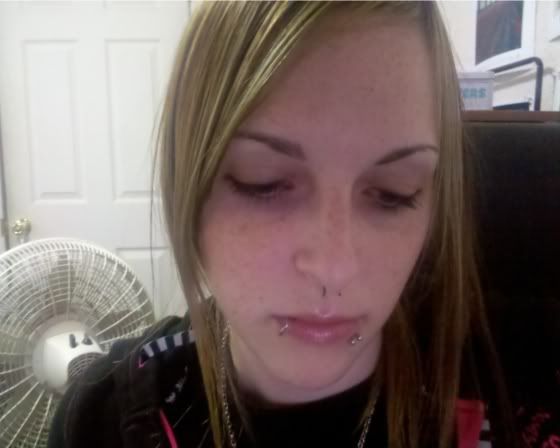
That really is all there is to it. Like I said super easy! All that is really left is mascara and (optional!) white eyeliner and a little of the sparkle eye dust on the bottom part of your eye.
I always add on blush and lipgloss. So hopefully this was easy to understand and follow! I hope to do more tutorials like this in the future so please comment with tips, advice, etc etc. <3 <3
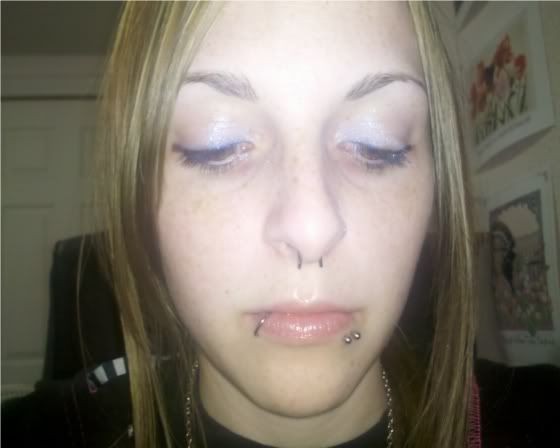
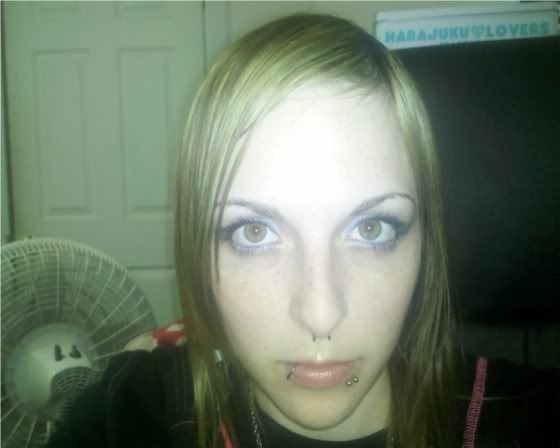
Finished product!
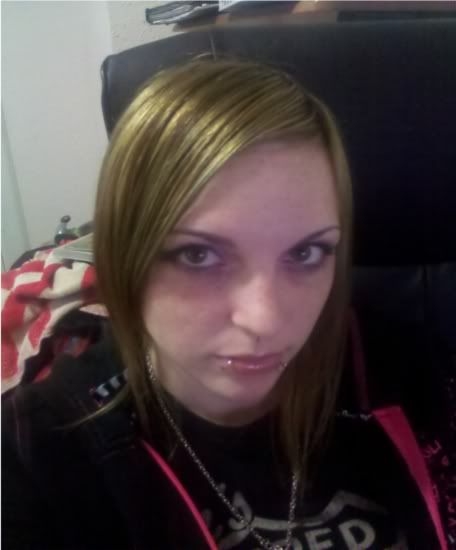 | |||||||||||||||||||||||||||||||||||
| eyes open! |
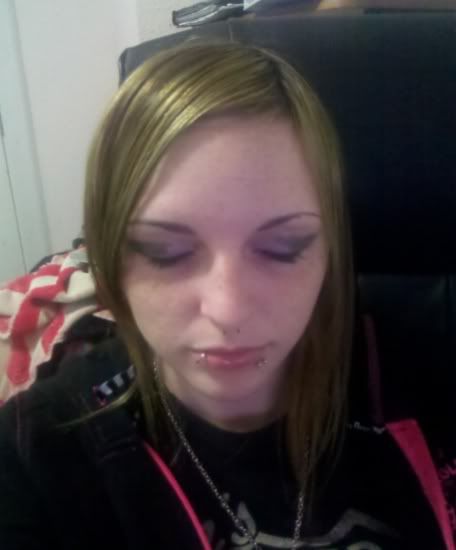 |
| eyes closed! |

No comments:
Post a Comment